RETURN TO ASSIGNMENT THIRTY FOUR PHOENIX 2025 CLASS
BOTTLES EXERCISE
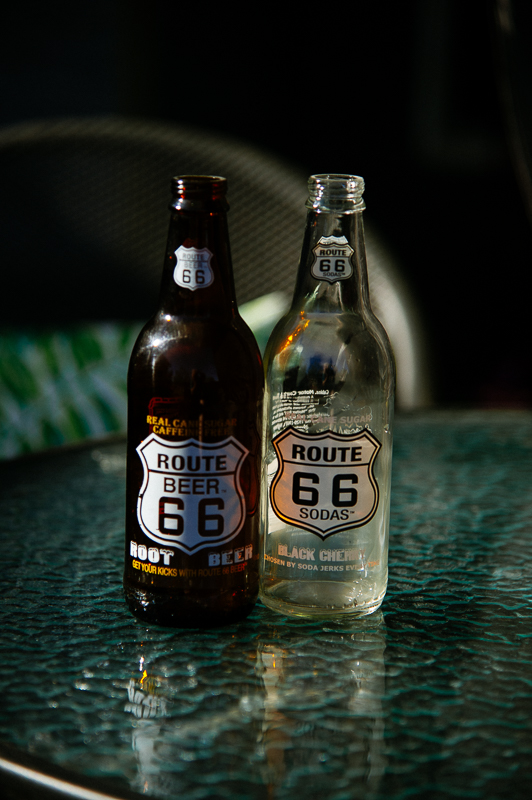
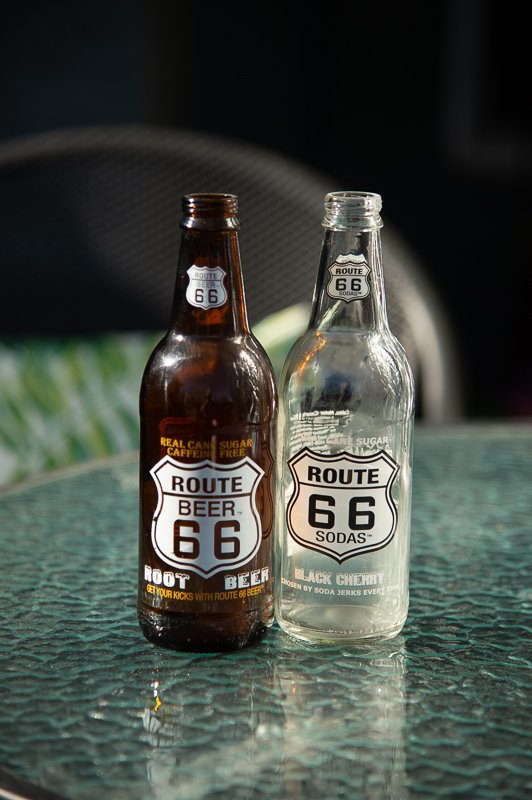
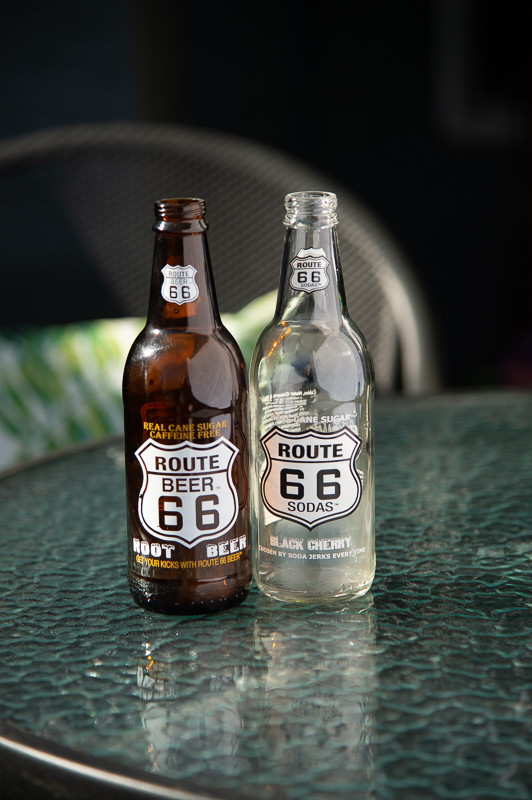
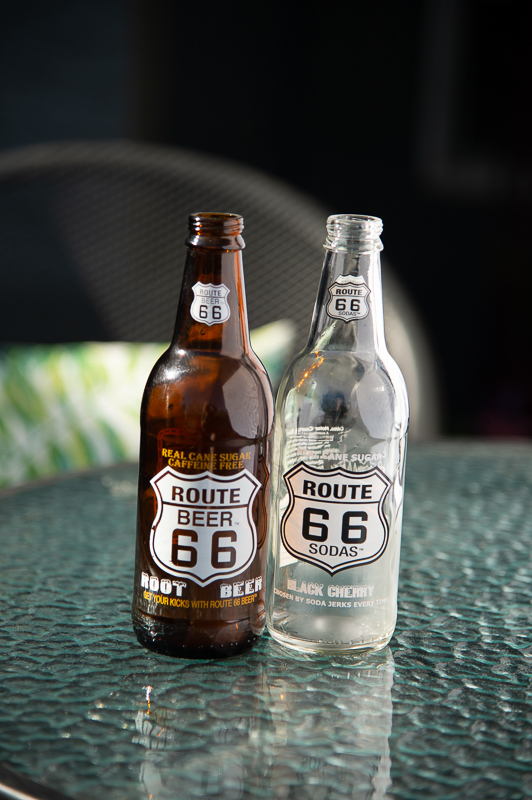
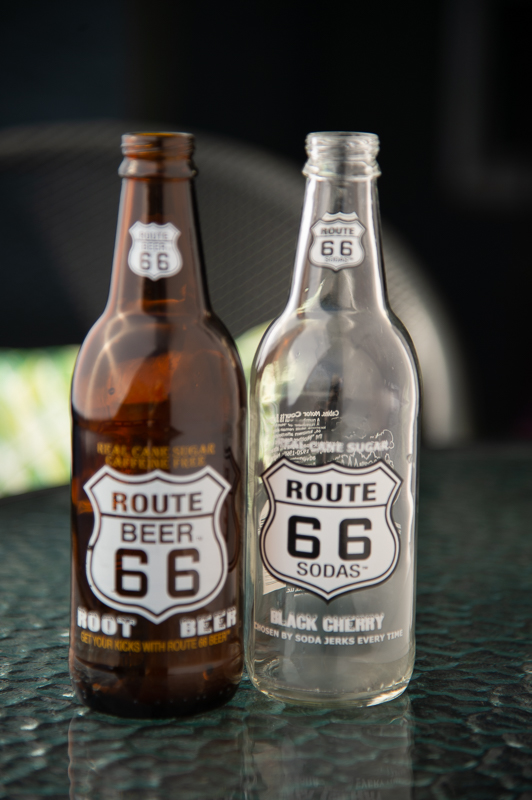
Take two bottles – one translucent and one dark or opaque. I am using a couple of bottles my wife and I got for fun on a recent trip on Route 66.
The bottles are sitting on a patio table in the sun at 7:30 in the morning – June. The sun is already at about 10:00 in the sky. This image is not modified in any way.
WHAT YOU WILL NEED:
FIVE IN ONE REFLECTOR
2X3 WHITE FOME CORE BOARD
I am using this Neewer 5-in-one. I love it for so many reasons. These multiple surface reflector kits are the best lighting bang for the buck there is.
Once you do these exercises, try mixing them up. Use a black reflector with the scrim for a light. Try putting a gold reflector behind and a bounce card in front. So many different combinations can create a lot of variety in the way you light. This helps build your ‘visual literacy’ and can be one of the most powerful tools in your arsenal.
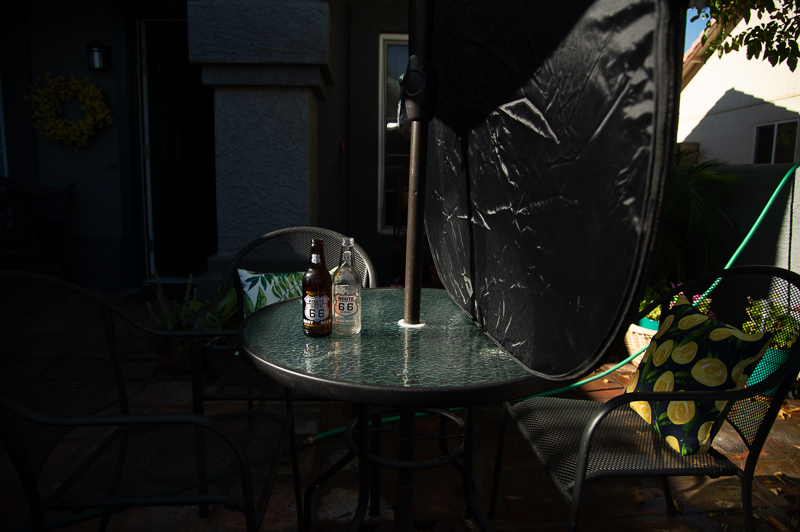
ADDING A BLACK CARD (NEGATIVE LIGHT) TO THE SHADOW SIDE.
You will notice what happens to the label, as well as the edges of the glass. This can help define an edge, but it can also wreak havoc on areas of diffused texture (label).
Negative Lighting can be a very powerful tool. Work with your black cards and ‘reflectors’ to see what you can achieve with them.

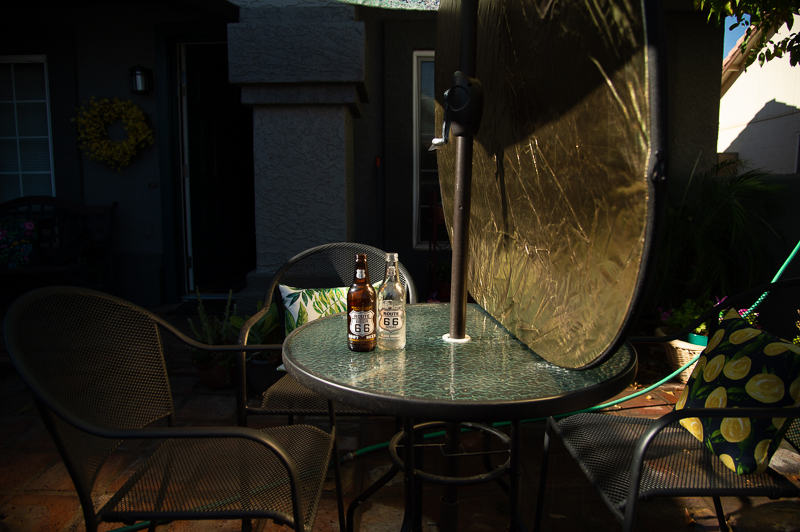
SHINY SILVER REFLECTOR
TO THE FRONT OF THE SUBJECT
Silver reflections are ‘cool’ and will pick up a lot of the color around them (blue sky, greenery, etc) because they are super reflective. This reflector is pulled to the front of the product.
SHINY SILVER REFLECTOR
TO THE SIDE AND BACK OF THE SUBJECT
Notice how the reflections are now to the back side of the bottles, and there is a more specular feel to the right side. It is almost as if the lighting changed from left to right. The sun is brighter, but the silver has more ‘punch’ due to its specular nature.
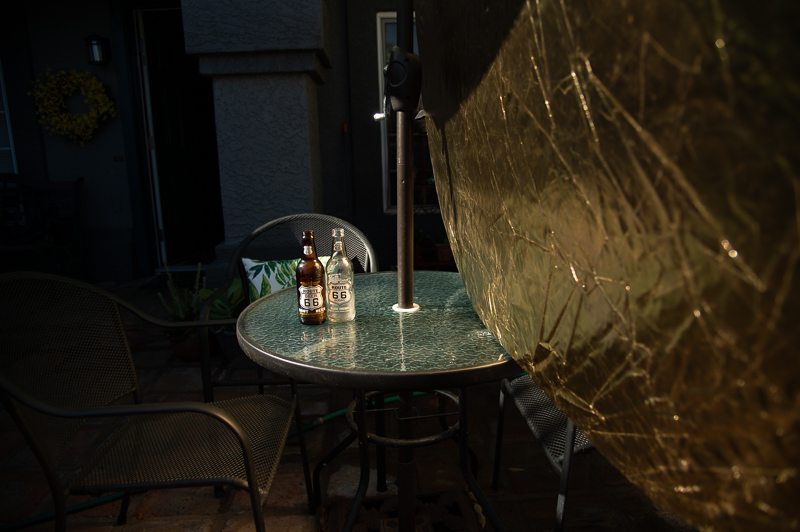
SHINY GOLD REFLECTOR
TO THE FRONT OF THE SUBJECT
Gold is a tricky reflector. Yes, it is warm, but it is also very ‘poppy’ due to the nature of its own specular makeup. Shiny boards like this are like mirrors… and they can be very hot in some places and not reflect at all in other places. Especially tricky with very efficient (shiny, glossy) surfaces.
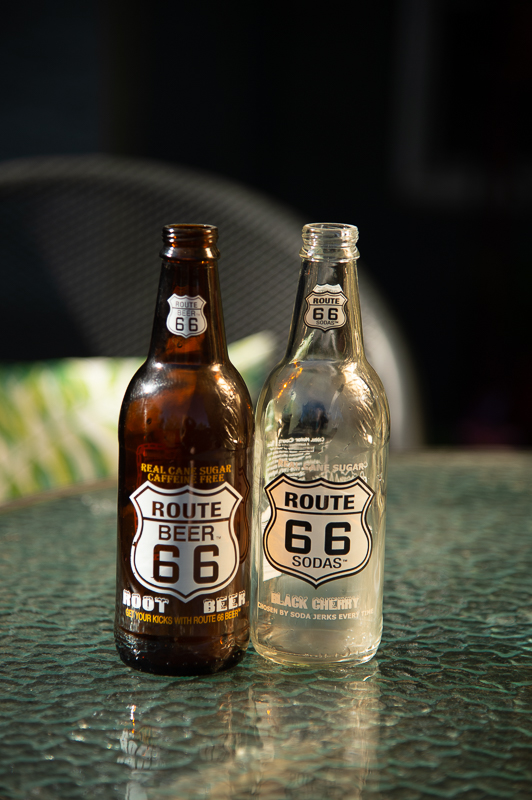
SHINY GOLD REFLECTOR
TO THE SIDE AND BACK OF THE PRODUCT
As we move the gold reflector back, the subject changes by having the speculars come through the translucent part of the glass. Notice also how much warmer the entire subject is. This can be a boon or a problem… depending on your vision for the shot.
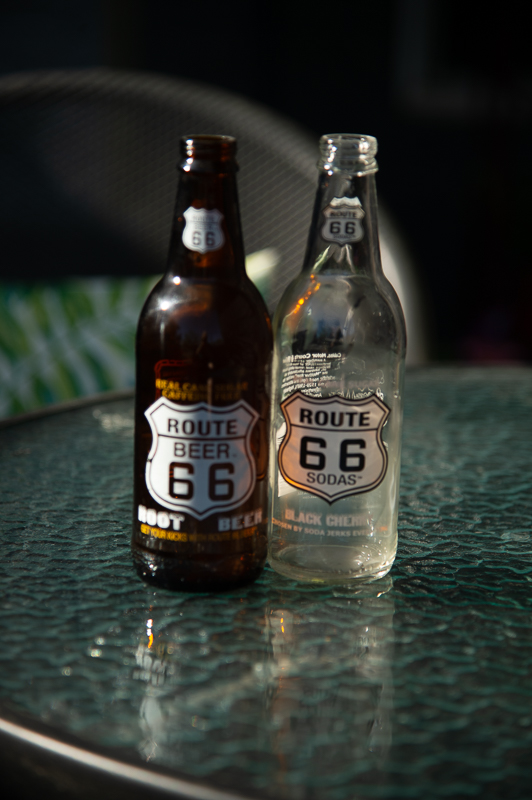
LARGE WHITE DIFFUSE BOUNCE CARD
PULLED FORWARD FOR A MORE ‘FRONT’ LIGHT
A common ‘fill’ source, the diffuse whte card can be a very useful tool. Notice how the speculars changed with this lighting tool to become more shaped, and offering more of the shape of the bottles. Speculars can hide shape and occasionally dimension because they are so powerful. But shaped reflections can reveal texture and dimension as well as shape.
LARGE WHITE DIFFUSE BOUNCE CARD
TO THE MIDDLE TO PROVIDE REFLECTIONS BOTH FORWARD AND FROM BEHIND
Look at the edges, and study what this does for the labels. A more subtle approach than the previous image, but still enough to give texture and exposure to the labels. The edges on the bottles change as well since there is more light being reflected back through them from the rear.
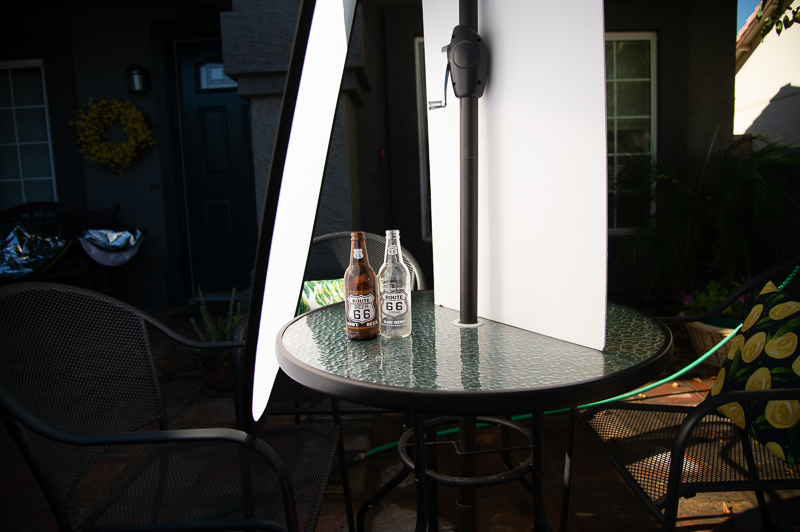
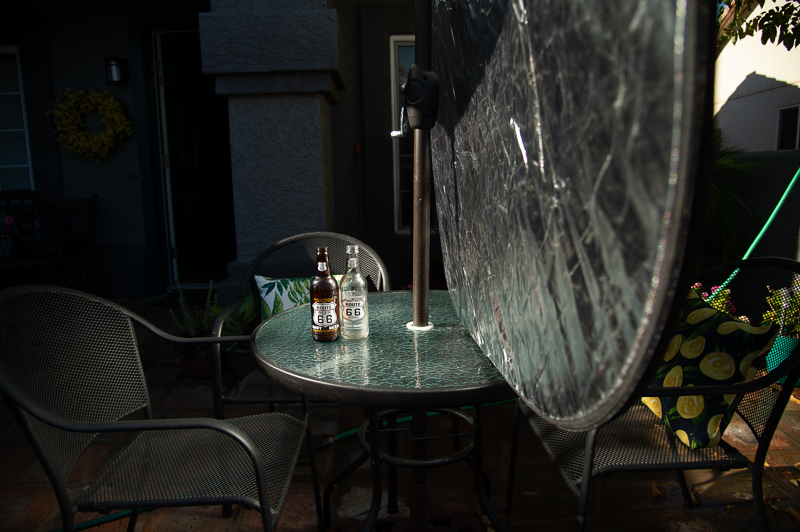
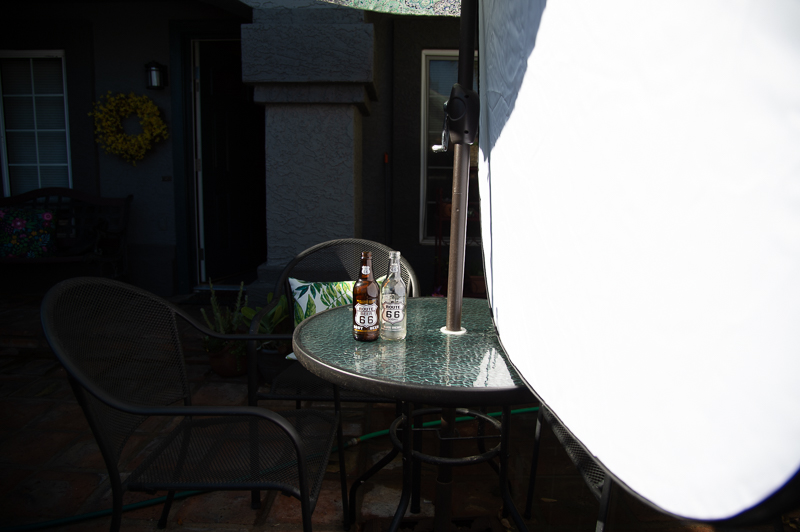
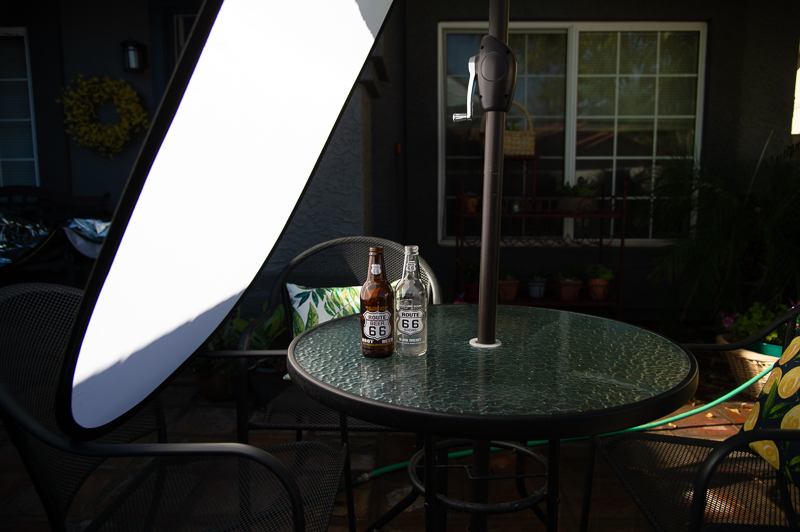
USING A SCRIM TO MODIFY THE MAIN LIGHT (SUN)
ONE OF THE MORE COMMON WAYS TO TAME THE SPECULAR OF A SMALL LIGHT SOURCE
I have the scrim in very tight to provide as large a source as possible and notice what happens to the label, the texture of the bottle, the edges of both sides of the bottles. This is simply from changing from a small, point source light (the sun) to a larger, “softer” source – a large scrim.
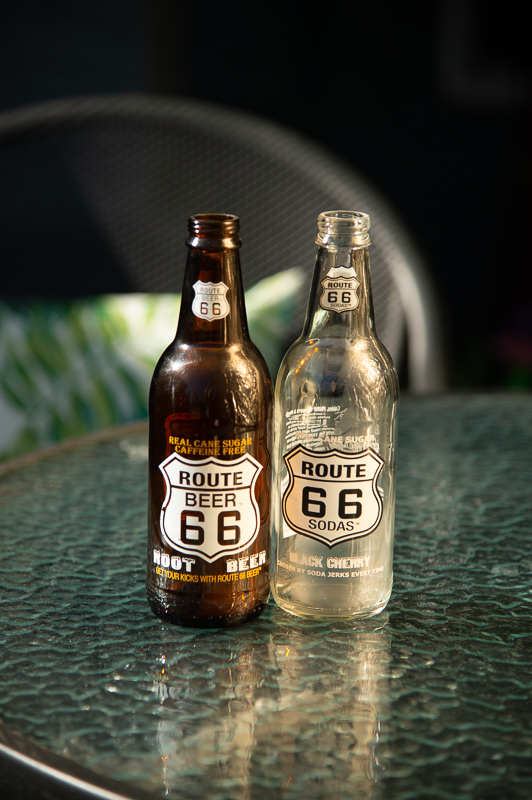
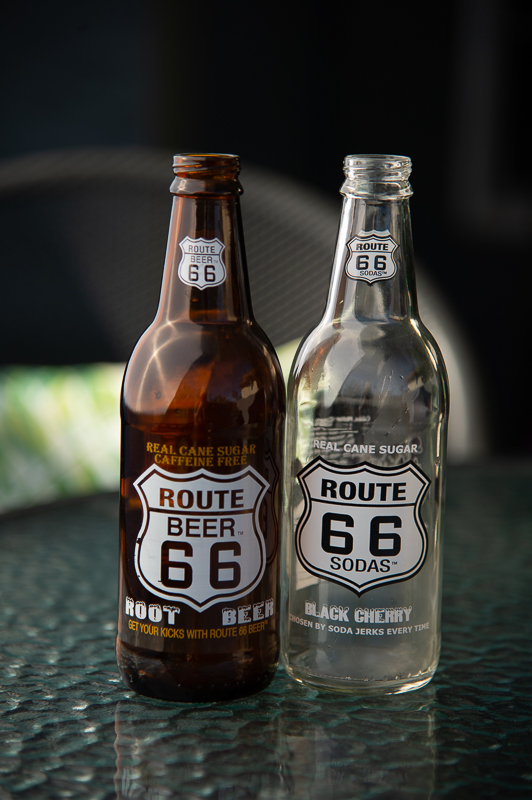
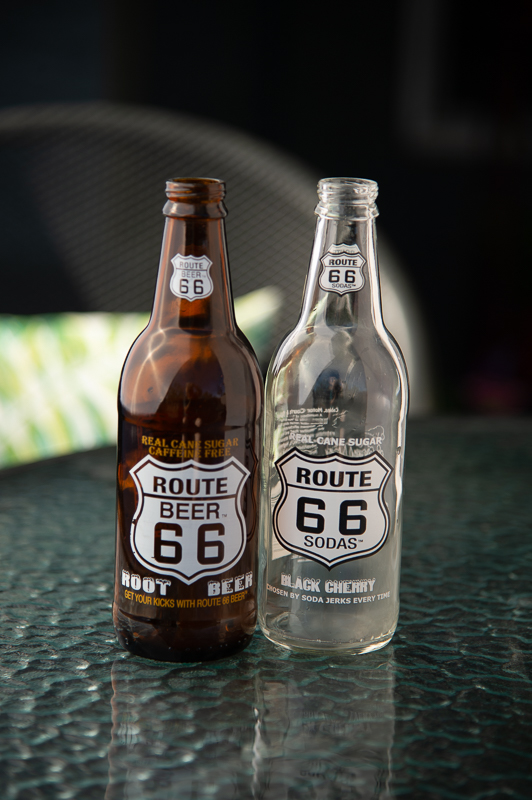
ADDING A REFLECTOR TO THE ‘SHADOW’ SIDE WITH THE SCRIM
RECREATING A MORE ‘STUDIO’ LOOK IS EASY WITH THE SUN AND A SCRIM
REFLECTOR IS FORWARD OF THE BOTTLES.
Notice the reflections in the product. Controlled, revealing. subtle shadings. Using these two items can make a product shot that looks like it was done in a studio, but with a more ‘natural’ environment. These are simple tools, and very powerful as you can see. With the reflector card forward, a tremendous amount of light is now on the labels.
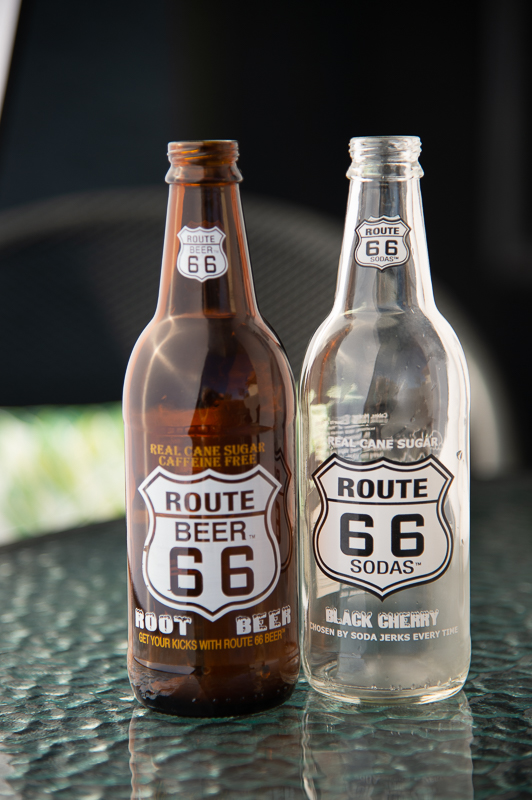
MOVING THE REFLECTOR TO A MORE ‘MIDDLE POSITION’ HELPS ESTABLISH EDGES WITHOUT BLOWING OUT THE HIGHLIGHTS
The position of the card is now to the side and providing a reflective surface for the labels, but also allowing them to go a little bit darker in the middle and that gives the dimension of the bottle. Notice the ways that the edges have changed – especially the back edges of the bottles.
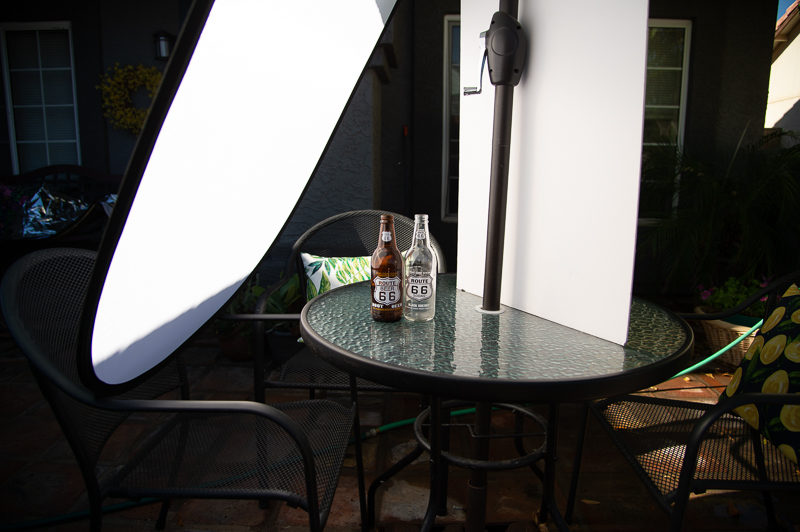
MOVING THE REFLECTOR TO A POSITION TO BOUNCE LIGHT BACK THROUGH THE BOTTLES BUT NOT SO MUCH ON THE BOTTLES
Turning the fill card a bit takes the angle of incidence to a new point and removes the front highlight that was prevalent on the previous shot, However, we are now using the back edge to provide a very strong “kicker’ to the back edge of the bottles. The labels are still lit nicely from the scrim but have lost their ‘shape’ due to the removal of the light on the right. This is neither good nor bad, it is just a decision you have to make for your vision.
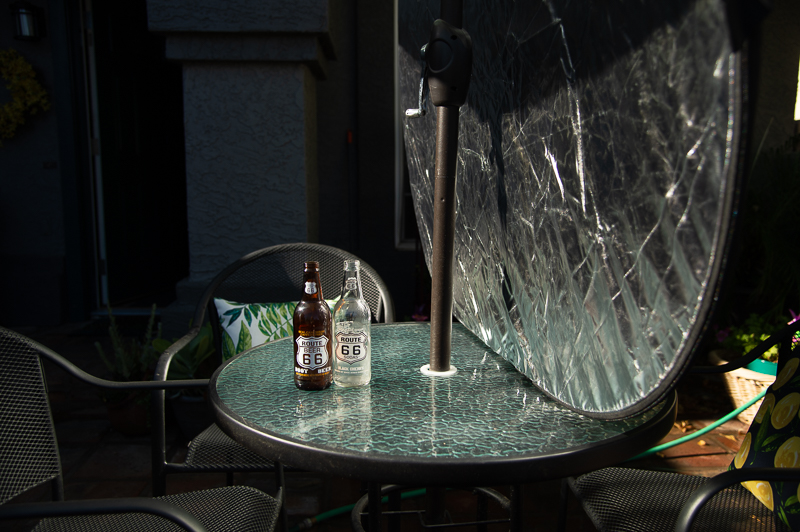
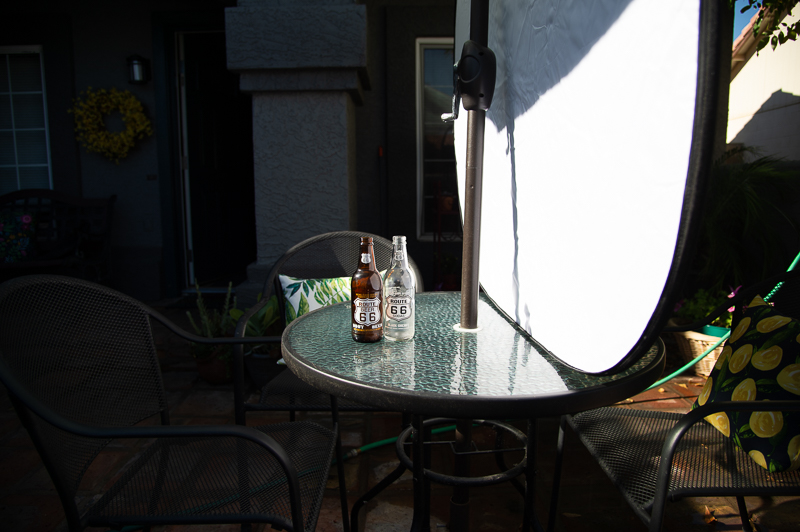
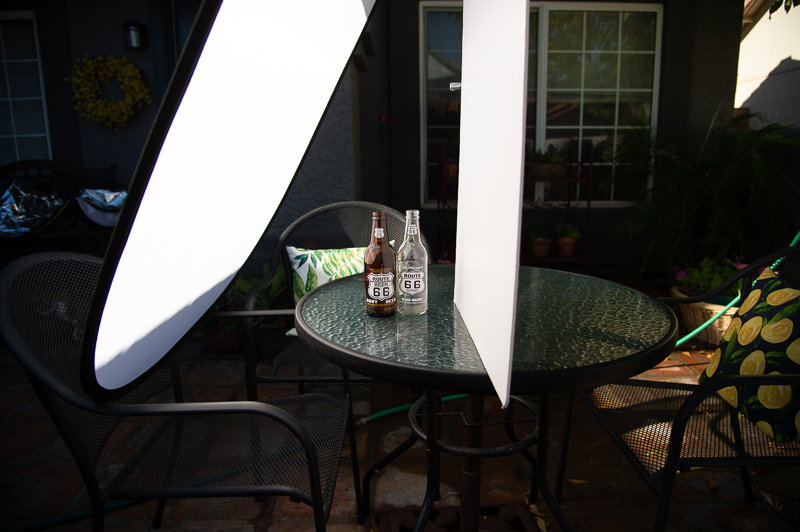
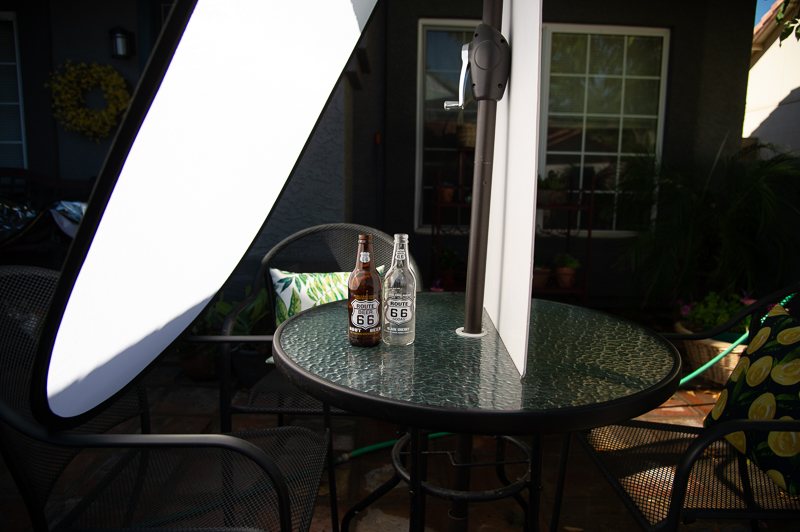
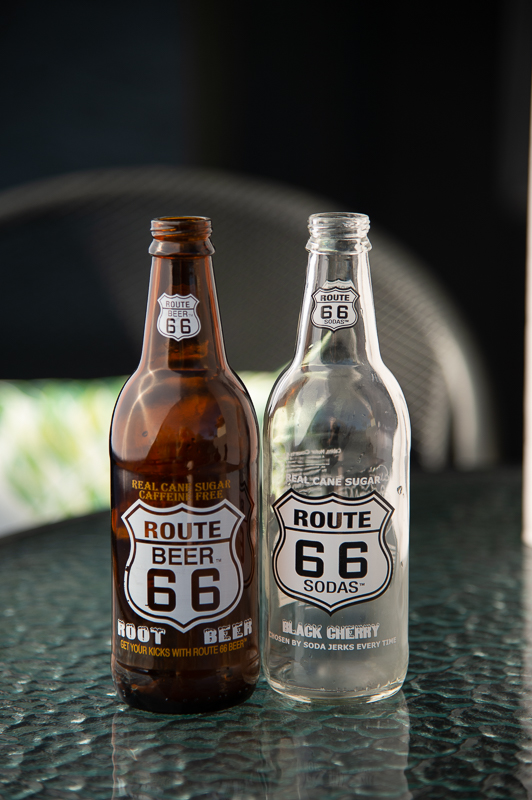
BRINGING IN THE SCRIM TO MAKE IT A LARGER REFLECTION AND USING THE WHITE BOUNCE CARD TO BOTH OPEN THE SHADOWS AND DELIVER A KICKER FROM THE BACK
The main reason for moving the scrim in closer is to show how it drastically changes the shape of the the highlight (soft specular) on the dark bottle as well as adds more ‘shape’to the bottles by becoming a closer light source.
NOTE the subtle gradient in the light across the glass table in this photograph. Because the light is closer to the subject, the Inverse Square Law makes it fall off much faster than when it was twice as far away as in the previous shot.
It all works together to help you deliver a deliberately lit and controlled image – even if you are working to make it not look like it.